 For years I’ve been using a Pedaltrain PT-2 for my primary pedalboard. I love the size for the amount of pedals I use and the ATA hard shell case works amazingly well while on the road. My primary power supply has been a Voodoo Lab Pedal Power 2+ and works absolutely great. One problem I do run into, is that I don’t have enough to power all of my pedals. To compensate that, I’ve been using a One Spot daisy chain. I’ve never been a huge fan of these. They’re great in a pinch. I’ve been noticing some noise issues, and I felt this was part of the problem.
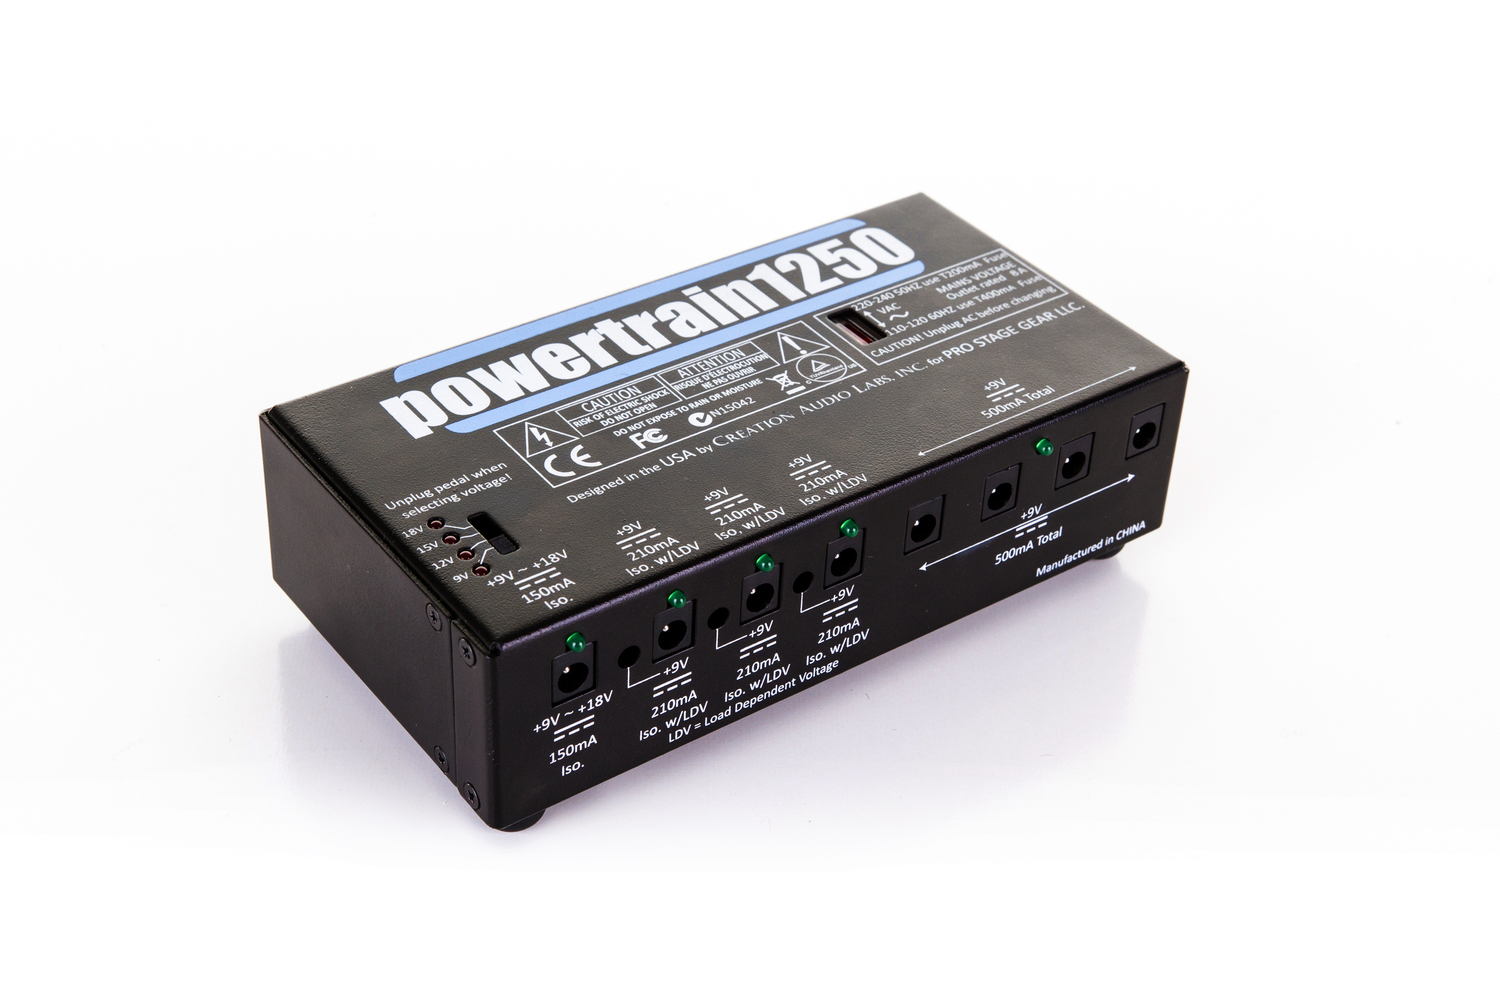
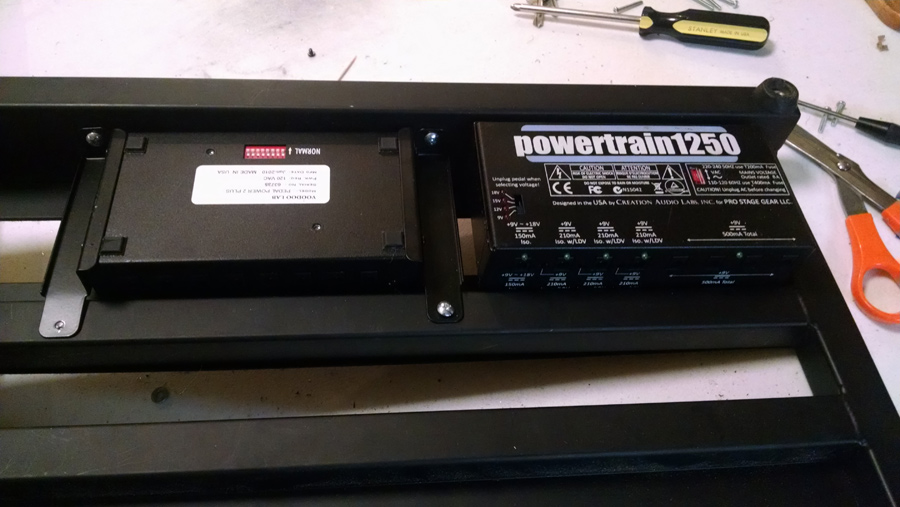
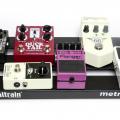
The Voodoo Lab Pedal Power 2+ is mounted using brackets and is positioned at the top-middle position of the board for access to the input/output power plugs. I recently picked up a Pedaltrain Powertrain 1250 power supply and wanted to add this to the board as well. The Pedaltrain Powertrain 1250 is a great power supply (developed by Creation Audio Labs) and is available for $199 at Amazon.I figured some of you might be interested in this, so I put this little how-to together.
There is enough space to the side of the Voodoo Lab for this to fit, but there are a few considerations to consider. The Powertrain mounting holes are at the top of the unit (requiring you to drill through the rails). Because of this, the unit will fit nicely. If I wanted another Voodoo Lab, this could get a bit tricky. Now, the other benefit of the Pedaltrain Powertrain 1250, the power plug is on the side, not on the front, so again, this will work nicely for me.
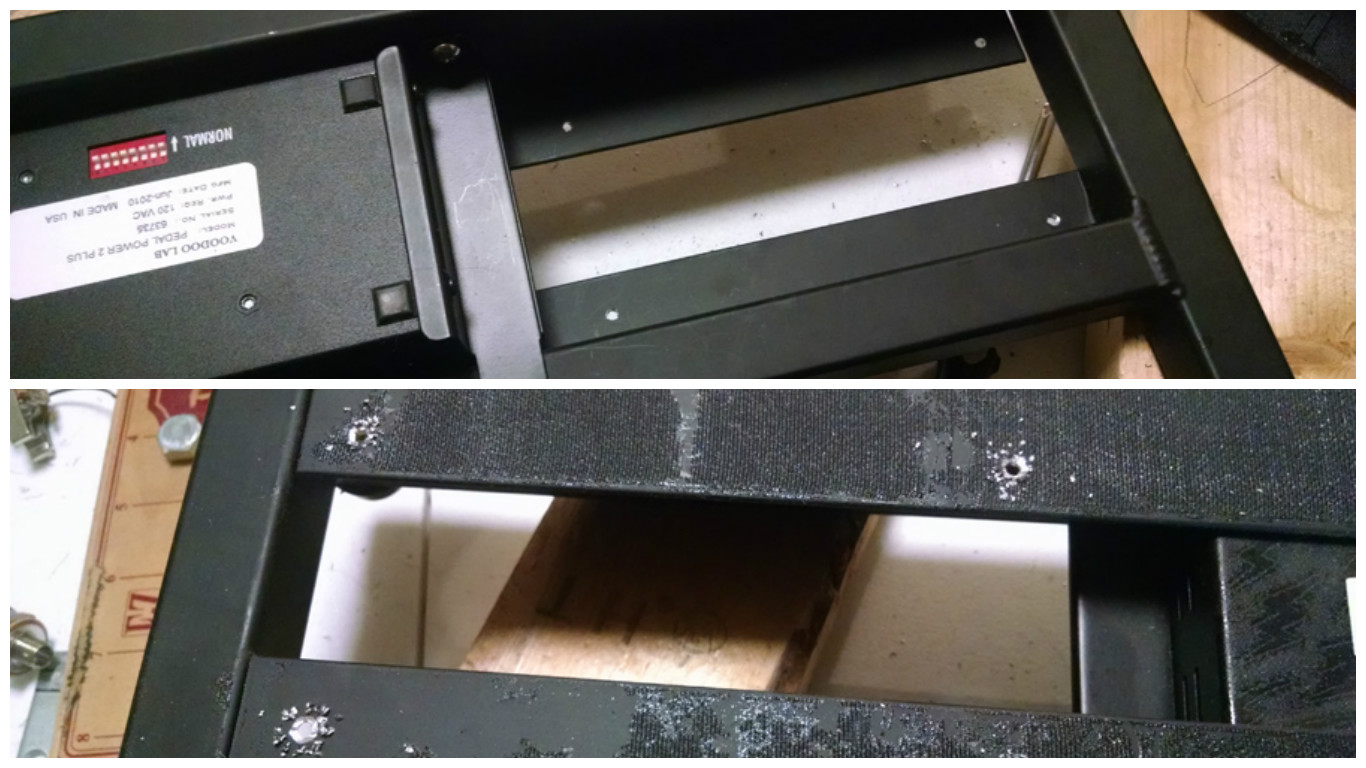
I like to ‘dry fit’ everything I do first. Take the time to see all the variables and issues before you start drilling, etc. When I laid the Powertrain 1250, it fit perfectly, but I did see a problem. With the unit flush on the rails, the side rail won’t allow enough clearance for the power cord to clear. The unit will need to be on a riser of some sort to clear. To understand what that gap is, I used cardboard. By cutting some cardboard, I began to raise the Powertrain up until the power cord clears the side rail. I then use my trusty digital calipers to measure the thickness of the cardboard. I now have a measurement needed to purchase hardware and risers to mount the unit.
 I went over to Ace Hardware (with the Powertrain) to pick up some hardware. Since I need risers, I also needed to get longer screws. I wasn’t sure if these were metric and needed the pitch, etc. Taking the unit and physically testing is the best method. I found some risers (or stand-offs) that had the height and cleared the diameter of my screws. I also picked up some washers just in case I needed a hair more height.
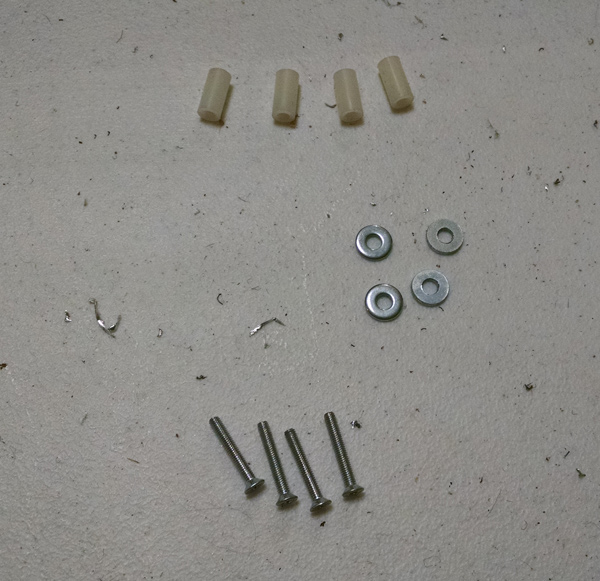
The next step is to use the drill template that is included with the Powertrain and drill through the rails. In my case, I had to remove the velcro from the first 2 rails. Once the holes have been drilled, I also did a light countersink, since my screws would not set flush and didn’t want to deal with the ‘bumps’.
 Once the holes have been drilled run the screws through the risers and fish them through until they grab the holes in the Powertrain. I also added just a tough of thread lock on the threads too. I didn’t want these to loosen up. I of course added the thread lock ‘AFTER’ dry fitting and testing though. Next, I put some new velcro on the 2 rails. Hopefully, you’ll have some extra. When I purchased my Pedaltrain, I had enough extra to do this without a problem.
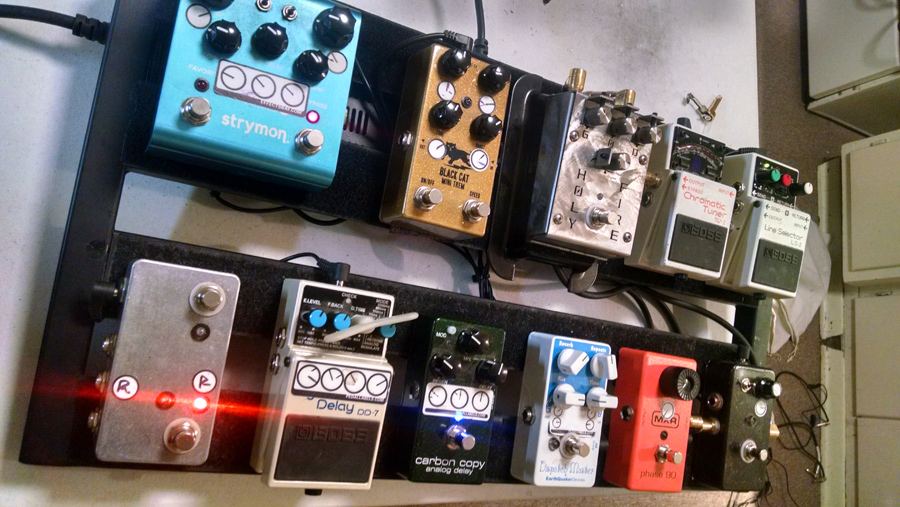
 After adding all the pedals back and routed all patch cables and applied power, there was a clear and obvious improvement in sound. Noise was gone. I also noticed that my MXR Carbon Copy had a brighter LED and effect was more present. I had to make an adjustment to the mix, so feel like that pedal was starved of mA and now is getting the proper power it deserved. I’m very happy with this improvement. It added a couple of more pounds of overall weight, but it’s well worth it.
 Hopefully this will help some of you interested in doing something similar. Let me know what you think by commenting below!

-
4 years ago
Nice. How did you deal with two power cables? Did you use a “Y” extension cord to run only one power cord into an outlet?
Reply -