 DIY (Do It Yourself) / MIY (Mod It Yourself) gear list. Lately, I’ve been talking to a few guitarists that are interested in working with pedals and dipping their toe into electronics. They usually ask the same things, what books did I get to learn this stuff? What equipment do I need? Where do I start, etc? The journey is definitely part of the process, and when you look back you’re amazed at how far you’ve come, but if I had a time machine, I would definitely do things differently – specifically in the word of the electronics gear. I thought I would mention a few things I would have done differently to possibly get you on your way with a little less pain.
Gear is important.. just like with music gear. Cheap, poorly made stuff, with little control can be massively difficult to rolling when it comes to guitars or when it comes to soldering irons.
If you’re interested in electronics, the soldering iron is step one. Do yourself a favor and throw away your Radio Shack iron. Do it! Throw it away now! What you want is an iron that has digital temperature control. It’s important to dial in the proper temp AND to maintain that temp. When picking irons, I would pick something with higher wattage. That wattage allows the iron to get hotter faster, and to easily maintain the proper temp when in contact with components. I personally use the Hakko FX888D, which is a 70W iron with the ability to have presets. I’ve been incredibly happy with this iron. You can pick this up for just under $100, and it will last you a long, long time, so don’t go cheap with the iron.
When you’re learning, I would recommend soldering with 60/40 lead solder. That stuff is super easy to work with great ‘flow’. There is lead in there, so be sure to wash your hands (cold water) whenever you’re done soldering. It’s easy to ingest the lead from your fingers when in contact with cigarettes or food, etc. I work exclusively with lead free solder now, but that takes some time to get use to, so I would recommend starting with lead, and if you want move to lead free. I have some friends that started with lead free, and it can be a challenge, especially when you’re learning.
Panavise! Oh. My. God. When I got my panavise, it was a game changer. If you have that stupid soldering iron stand with the magnifying glass and the 2 arms with clips. Throw it away. Do it! Throw it away now! Start things off with a proper panavise. A panavise gives you the ability to secure the piece tightly with a ‘vise’ but the vise is mounted to a ball joint, so you can swivel and angle very easily. I absolutely love this for soldering PCBs. It is a must have! I currently have a pair of PanaVise 301s and those cost around $33… absolutely worth every penny. I literally use this EVERY time I solder.
Soldering picks is something I picked up early on at a electric parts store (that sadly closed a while back). Picks are great for manipulating wires and testing cold solder joints. My pick has a diamond head on the other side, which acts like a borer on that end. Great for opening up threw hole that got closed after desoldering, etc. I find myself using those often.
Speaking of desoldering – learn to get good at this. When doing mods, it’s all about swapping components, so you need to desolder without damaging the PCB. Sometimes desoldering goes super smooth while other times, it can be a fight. I’ve used a variety of desoldering tools from the suction pump, to braids, but what I like the best.. is the bulb. I hate the braid. The suction pump, the tips get ruined, but the bulb seems to keep sucking.. and in the good way. You do need to clean out the tip (use the soldering picks). I would like to eventually get a desoldering station.. some day.
Digital Multimeter (DMM). This is going to be your buddy. I mean with out this guy, you’re just poking in the dark. I learned so much about electronics from having DMM for testing. These are necessary for determining resistor values (I hate reading the color codes, I just test it and get the value). I use this to test LEDs. I use this to do continuity tests on my circuit. I do this to test voltage, etc. Again, get a good one. I like them to be digital vs. needle. I like the back light feature too. I personally use the Pro’sKit 903-150NDS, which is about $30.. and I’ve literally had this for 10 years. I’d like to upgrade.. I don’t know why, because I have had 0 problems with this, but it does lack capacitor testing though.
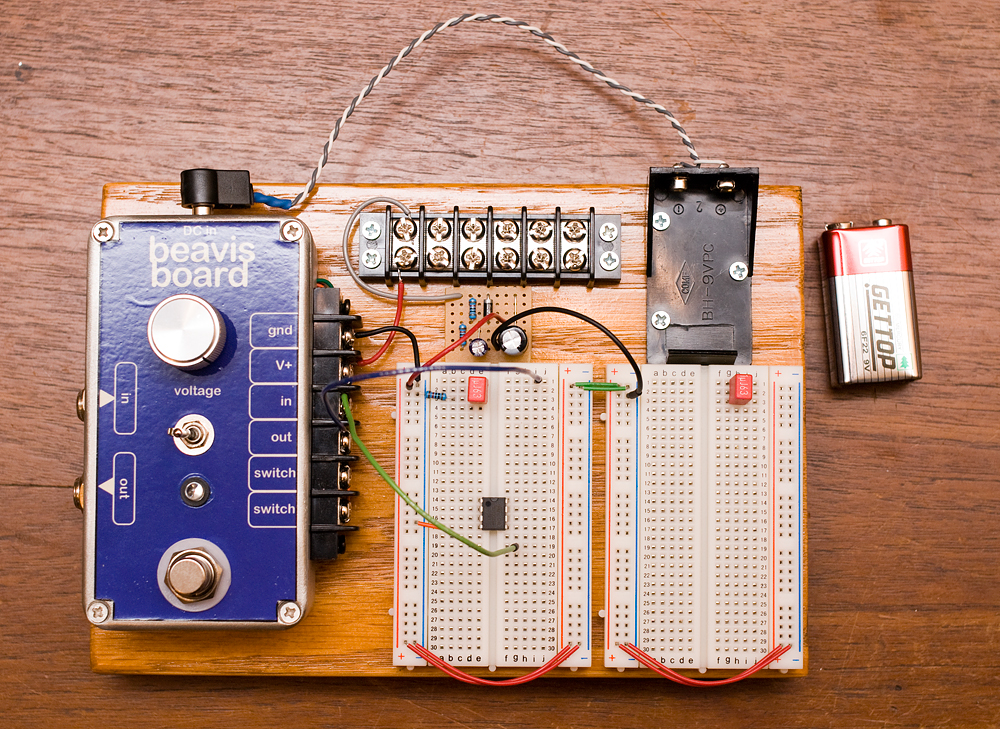
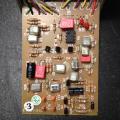
Finally, I would also recommend making a Beavis Board or buying a premade version. Basically, it’s a series of breadboards, and enclosure, power supply with breakout terminals. The concept is great. The enclosure would be set up with footswitch, LED and input / output jacks. So you can hook up a guitar and amp, just like a normal guitar pedal. The ‘guts’ of the circuit would be out on the breadboard. This is great for working on circuits for guitar, while keeping things stable while testing with a guitar. The photo of this post is a the ‘official’ Beavis Board.
So, all of these items took some time to discover. I started with the radio shack iron, crappy 3rd arm, no multimeter, etc. Don’t do these mistakes and get on the right path. It’s not that expensive to purchase all of these things, and you’d be in a great position to focus on ‘learning’. Hope this helps.
-
8 years ago
Now this is a handy article. Most of this I already figured out on my own, but the validation is much appreciated. The one thing that I don’t have is the Beavis Box. As the builder seems to have gone under (maybe about five years ago), the website is no longer active. I would have bought one outright, but it looks like if I want one, I’ll have to build it myself. Would you happen to have an available schematic for one, or I’d someone else making and selling this project board under another name, perhaps the Butthead Box?
All kidding aside, I’d prefer to buy a ready-to-use “Bevis Box” as opposed building, but I’ll build if I have to and would prefer a schematic as opposed to reinventing the wheel.
Reply